Arsenal 004 // SURFACE REFINEMENT: Abrasive Media & Topographical Calibration-Sanding
[PLAMOFORGE 3D LOG. Entry No. TOOL-GEAR-004-SND]
In the final phase of assembly within Arsenal 004, we transition from structural separation to Surface Refinement. While nippers and knives remove bulk material, Abrasives (Sanding Tools) are responsible for the micron-level calibration of a unit’s silhouette. For a machine like the MG, characterized by its vast, flat armor plates and sharp geometric transitions, improper sanding is a critical failure—it can lead to rounded edges and “melted” details.
This protocol standardizes the use of abrasive media to achieve atomic-level surface perfection.
DATA FILE 01: Abrasive Taxonomy (Media Selection)
Not all friction is created equal. In the Arsenal, we categorize abrasives by their backing material, which dictates their tactical application:
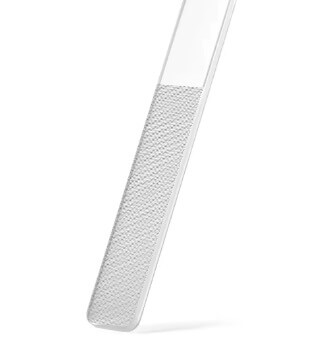
- Hard-Backed Sanding Sticks (Rigid Calibration):
- Tactical Role: Surface leveling and edge sharpening.
- Application: Essential for the MG’s blocky armor. The rigid backing prevents the abrasive from “dipping” into soft spots, ensuring that flat planes remain perfectly flat and 90-degree corners stay razor-sharp.
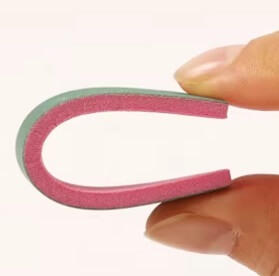
- Flexible Sanding Sponges (Contour Adaptation):
- Tactical Role: Ergonomic refinement and curved surface smoothing.
- Application: Used for fuel tanks, rounded leg boosters, and internal frame components. The sponge core distributes pressure evenly across curves, preventing flat spots on rounded geometries.
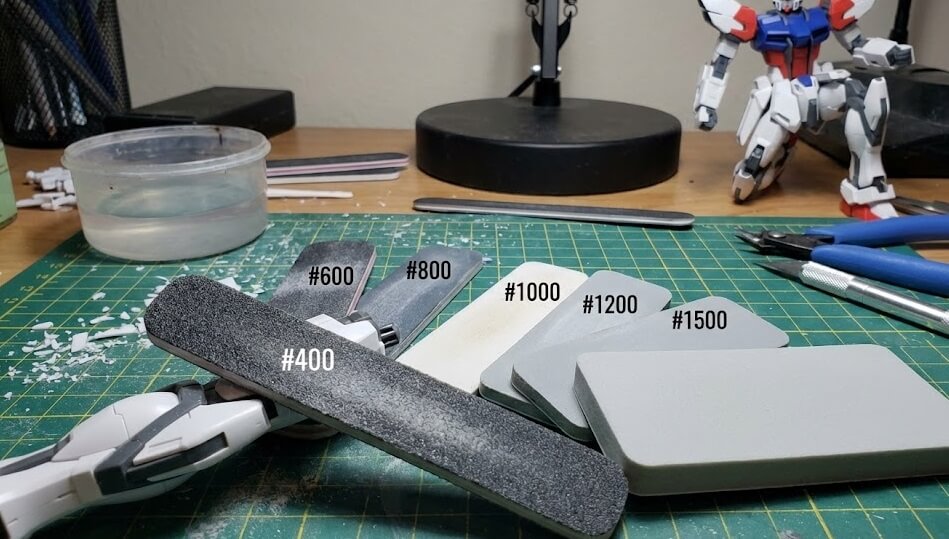
DATA FILE 02: Grit Graduation (The Progression Scale)
Surface refinement is an incremental process. Skipping steps in the Grit Progression will result in micro-scratches being “locked” under the paint layer.
| Phase | Grit Range | Tactical Objective |
| I: Leveling | #400 – #600 | Rapid removal of nub remnants and mold flash. This is the “heavy lifting” stage of Arsenal preparation. |
| II: Refining | #800 – #1000 | Eliminating scratches from Phase I. This grit creates the ideal “tooth” for primer adhesion. |
| III: Polishing | #1200 – #1500+ | Achieving a silk-smooth finish. Required for metallic paint applications or for operators seeking a “factory-fresh” unpainted look. |
DATA FILE 03: Tactical Sanding Protocols (SOP)
To maintain the structural integrity of the parts, all operators must follow [PROTOCOL 002]:
- Unidirectional Motion: Whenever possible, sand in a single direction rather than circular motions. This makes it easier to track and remove scratch patterns in the next grit stage.
- Wet Sanding (Hydro-Cooling): Dipping the abrasive in water is the preferred Arsenal method. It prevents the plastic from overheating (which causes “gumming”) and traps hazardous micro-dust, keeping the Arsenal environment clean.
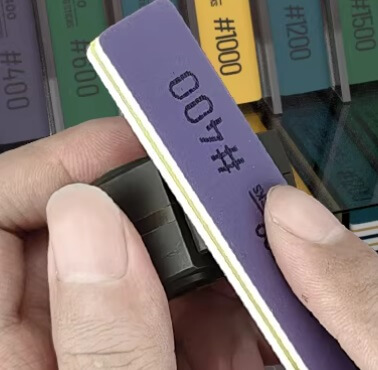
- The “Cross-Hatch” Verification: When moving from #600 to #800, change your sanding direction by 90 degrees. Once the previous scratches are no longer visible, the calibration for that grit level is complete.
MAINTENANCE LOG: Tool Longevity & Surface Purity
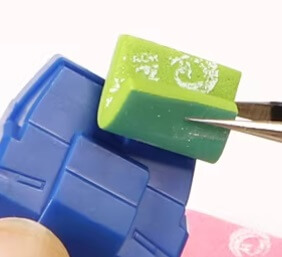
- Debris Extraction: Abrasives “clog” as they collect plastic dust. Use a stiff brush or a specialized cleaning rubber to extract debris from the grit to maintain cutting efficiency.
- Surface Neutralization: After sanding, parts must be cleaned in an ultrasonic bath or with mild detergent to remove residual grit and oils before moving to the painting phase.
PLAMOFORGE 3D FINAL DISPOSITION
For operators processing the heavy-duty components of the MG , surface refinement is where the “toy” becomes a “machine.”
- Standard Deployment: A full set of Rigid Sanding Sticks (#400 to #1200) for armor plates, and Sanding Sponges (#600 to #1000) for auxiliary thrusters.
- Recommended Ordnance: Glass File for rapid nub removal, followed by abrasive sheets.
- Projected Outcome: Total elimination of nub marks, perfectly preserved “Katoki-style” sharp edges, and a surface ready for high-fidelity paint application.
[End Arsenal 004]